How to open a password protected PDF by creating a digital copy
Some PDFs are password protected and do not allow commenting. You can work around this restriction by creating a Digital Copy of the restricted PDF.
You might come across PDF documents that do not allow specific features, like commenting or editing. Typically, those documents have been protected by the author with an owner password, disallowing those features.
But - if the author did allow printing - you can work around those restrictions by printing the document into a new PDF. We call this a Digital Copy.
First, open the restricted PDF document in PDF Annotator. Start PDF Annotator, select File, Open and choose the PDF file. Now, click OK.
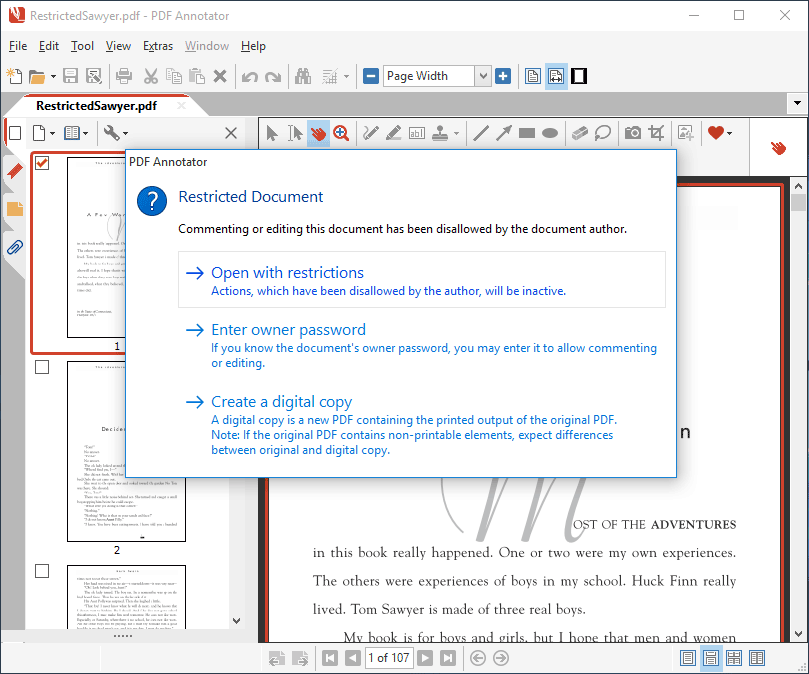
PDF Annotator will attempt to open the document, but display a Restricted Document warning.

If you only want to display the document, you can always select Open with restrictions to open it anyway. Some actions will be disabled, depending on what the author allowed and what he disallowed when he secured this PDF. Typically, you will either not be able to add any comments or markup to the document, or you will not be allowed to add or remove pages from the document (or all of that). After opening the PDF with restrictions, you will find out which actions have been disallowed: those will be disabled - like all annotation tools behind the Restricted Document box in the screenshot above.
If you know the document's owner password - maybe you are the creator of this document, or the author provided the password to you - click Enter owner password to continue. If the password is correct, you'll be able to annotate and edit the document as usual.
The third option is to Create a digital copy of the original PDF, which we will now click.

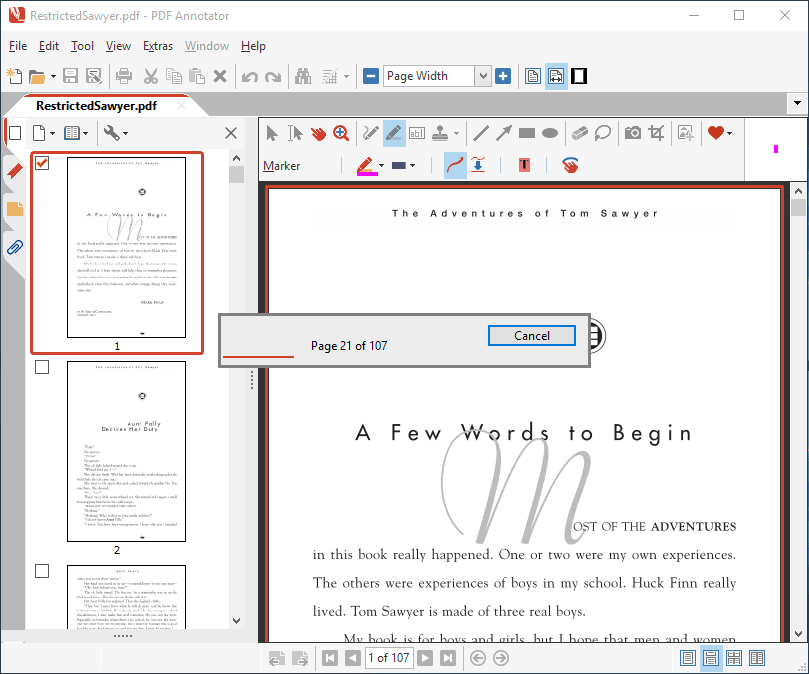
Depending on the size and complexity of your document, the process of creating the digital copy may take a while. Please be patient while the copy is being created.
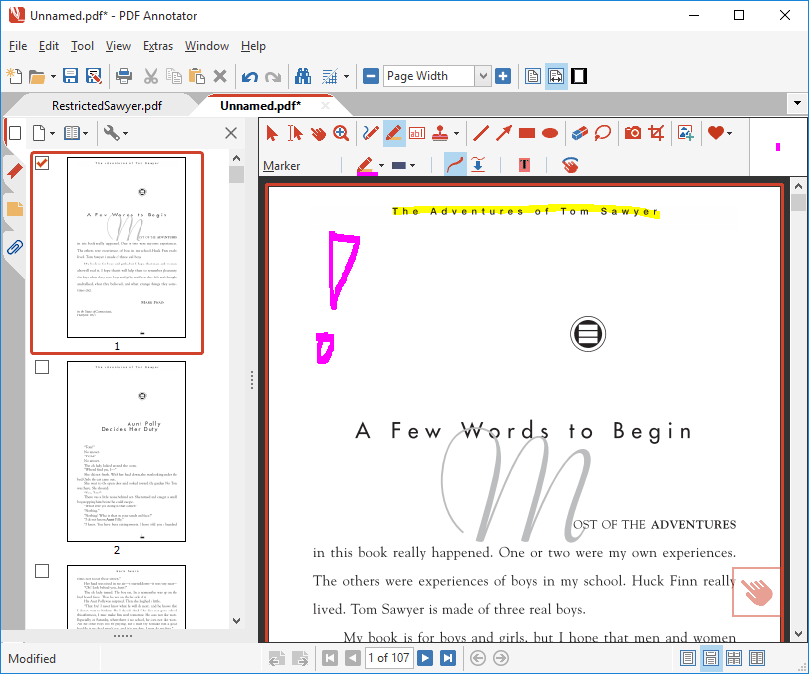
Once the copy has been created, it will open up in a new document tab in PDF Annotator, called Unnamed.pdf.

As you can see above, all markup tools are now enabled, and you can start marking up the digital copy.
You may now save the digital copy under a new name by selecting File, Save as.